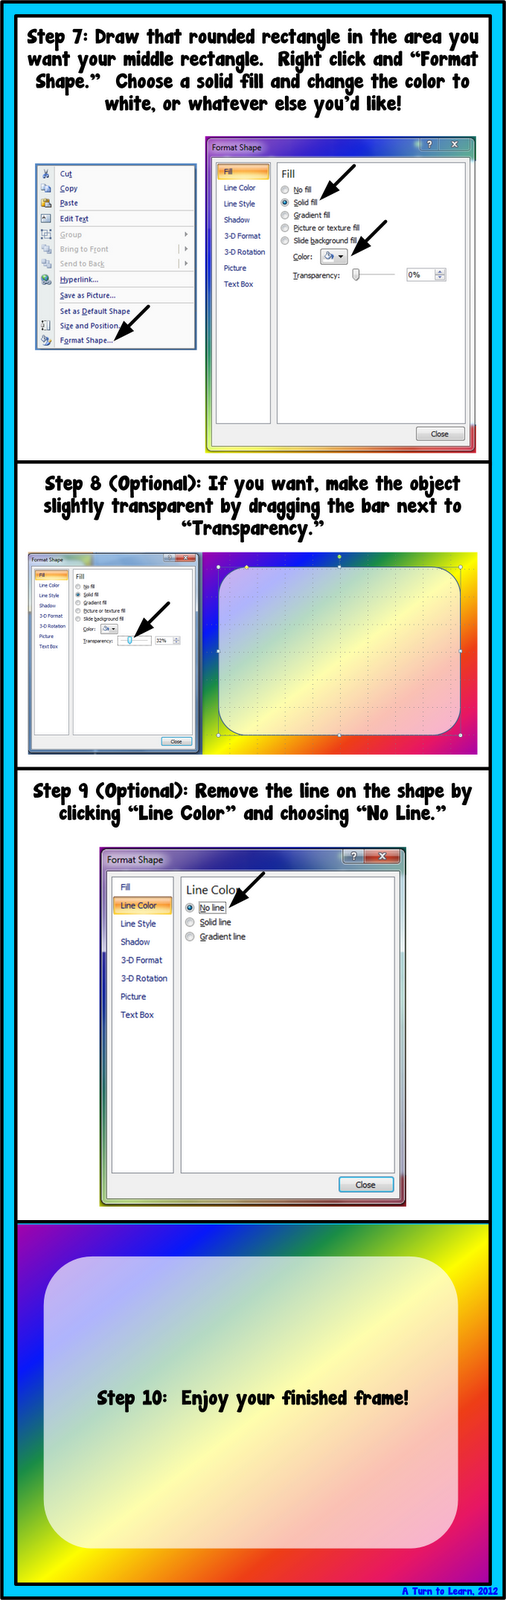
re you looking for a way to make your TPT cover page more colorful? Or to make a bright visual for your classroom? Well… it’s much easier than you might think! For this week’s tutorial, I’ll be showing you how to make your own bright and colorful frame in PowerPoint!
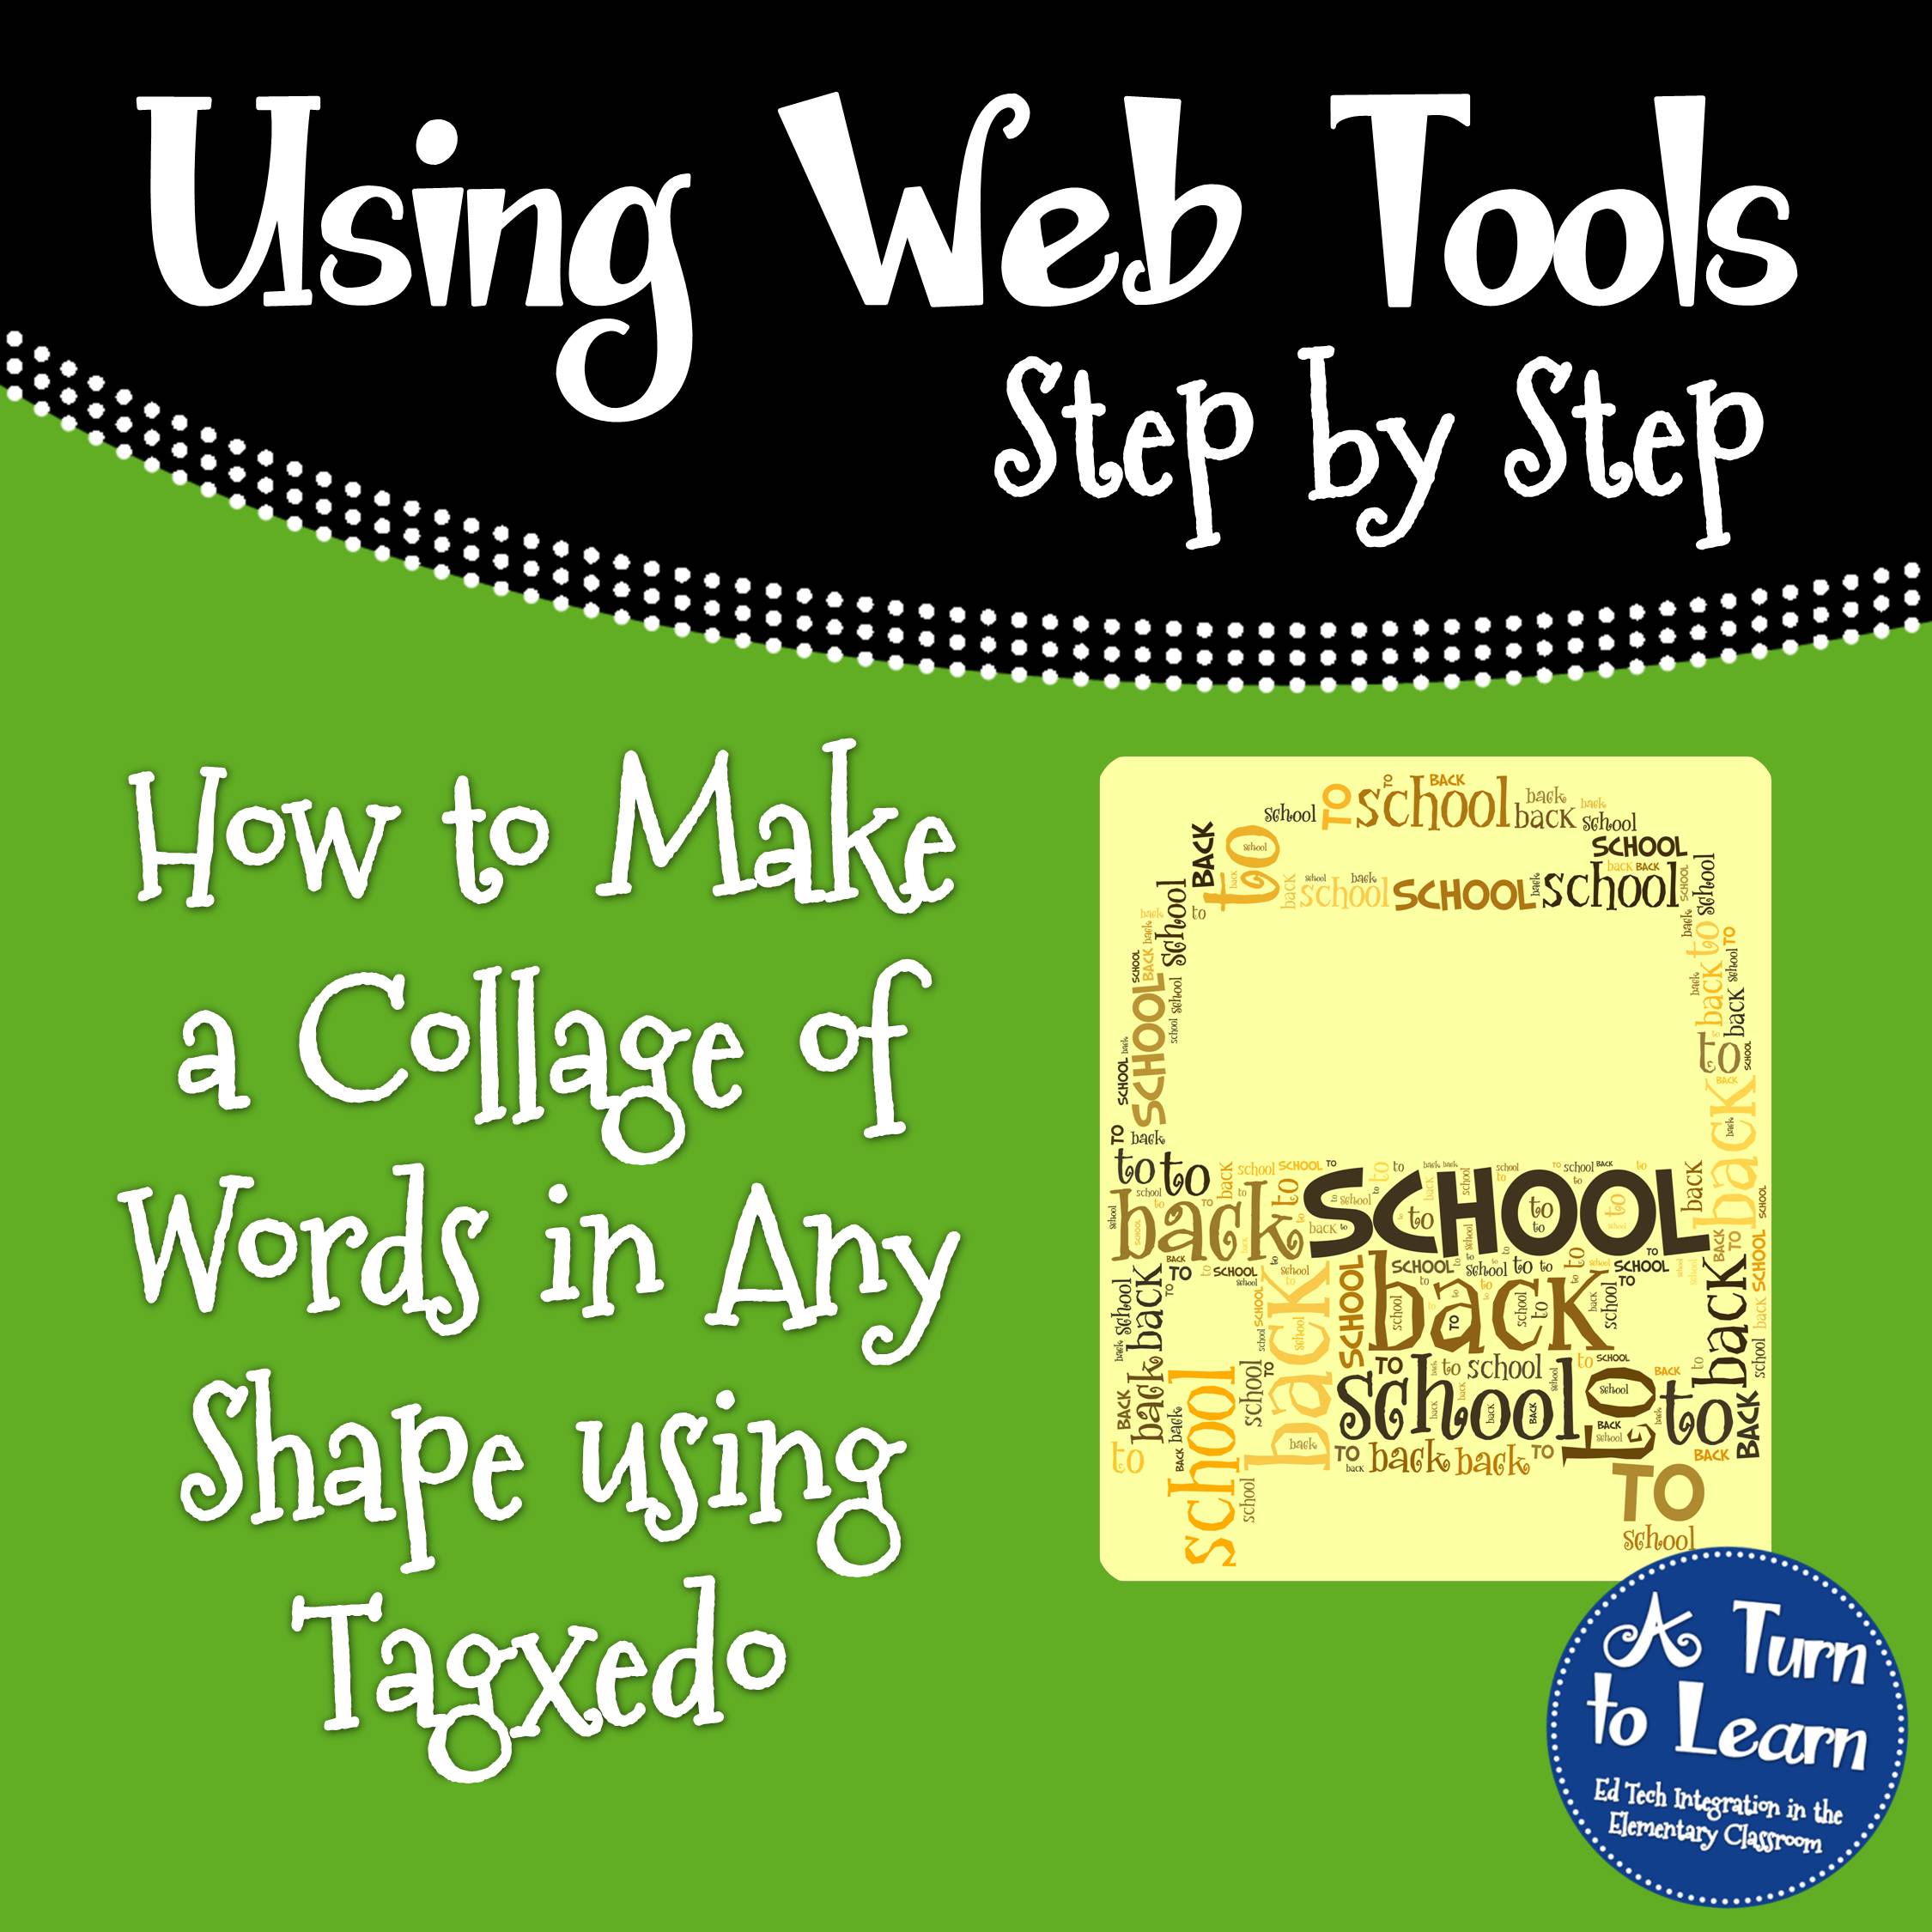
Next week, I’m going to add how to make a collage of words in any shape you want!

Check out the guide below for that tutorial!
Great tips!! Thank you so much for sharing!! 🙂
Lisa
Learning Is Something to Treasure
No problem!
This is a great tutorial! Thank you for sharing and going step by step. =)
Heather
Heather's Heart
Thanks! I'm glad you like it!
That was great! I kind of feel silly for not having figured it out, since it's simple! I love your technology tuesdays!
Laura
Mrs. Castro's Class
It really is one of those things that you wouldn't necessarily think of but it makes so much sense after the fact!
Love Technology Tuesdays! Thanks for the "duh" moment!
Something I can't figure out on my own: How do people get frames that extend to the edge of the page when you print. A lot of the stuff that I download from TpT has no white edges (PDFs). It's early; I hope that makes sense!
✿Lynn
Inside this Book
Lynn, I share the same problem. I made some stuff in Power Point, made it into a PDF, was all excited and ready to share it on my blog when I discovered there was a white edge on the PDF. I was so bummed. If you find the answer, please, please, please drop me a line and tell me what I did wrong.
Michelle
http://owlsareahoot.blogspot.com/
jamm0309@gmail.com
I am with you gals! Please share the solution when you figure it out!!!
Hey ladies! Since so many of you share the same problem, I post a quick tutorial about it! Check out the blog post here!
I used your tutorial for a picture on my blog today come check it out- LOVE TECH TUESDAYS btw!
✰Amber
Sparkles , Smiles, and Student Teaching
I absolutely love your frame! Thank you so much for sharing it!
Thanks for sharing this tip! Cute, colorful frame!
No problem! Glad you like it!
Would love to learn how to make polka dot frames and borders. I searched the web for directions but am not coming up with much.
I'll add it to my list of things to blog about! It may take some time for me to get to it, but it'll be in the poll eventually! Thanks for the idea!
What great tips! You make everything look so easy! Thank you for your step by step tutorials! 🙂
Cheryl
Crayons and Curls
LOL thanks! I try to make it all look easy so that people aren't intimidated by it! Some of the programs have so much going on that it's hard to figure out where to click/what to do, but I hope that the pictures help people feel confident in what they do!
Wow – this is so helpful!!!
Is there a quick and easy way to print out these tutorials?? I am still a paper person and I would love to make a tech help binder for quick reference.
Thanks in advance 🙂
So glad it's helpful! At some point next week I'm going to convert the files to PDFs and upload them to TPT, so you'll be able to download and print the files as needed. Stay tuned for that!
Great Frames! I have the same 2007 program and by trial and error figured it out the LONG way! Love your quick tips that are so much easier!
Thanks so much!
Ms. Marciniak's First Grade Critter Cafe
Thanks! Glad it helped make it a bit quicker!
I just love the step by step instructions! I followed this one on how to create a frame. How do I turn it into an image file so that I can insert it in other programs (like Print Shop and Smart Notebook)?
Kim
Awesome question! I'll have to add it to the tutorial! You can save it via File > Save As, and select jpg or png from the drop down menu, or you can drag a box around the two shapes created in PowerPoint and right click them, then choose "Save Picture As". I'll definitely add it to the tutorial, thank so much for the awesome question!
Thanks for sharing!!!
Angela
The Daily Alphabet
No problem! 🙂
Thank you so much for this wonderful tutorial! I am your newest follower! Come visit me at:
5th Grade Tomfoolery
Teri
Thanks for stopping by! I'll be sure to head to your blog as well! 🙂
Thanks for sharing! Are you going to be featuring Tagxedo next week then?
~Jessica
Fun in PreK-1
This is an older post but I did end up featuring Tagxedo:
http://aturntolearn.blogspot.com/2012/07/how-to-make-collage-of-words-in-any.html
It's such a fun tool!